Thursday, December 31, 2015

A New Idea to Display Your Base & Bling


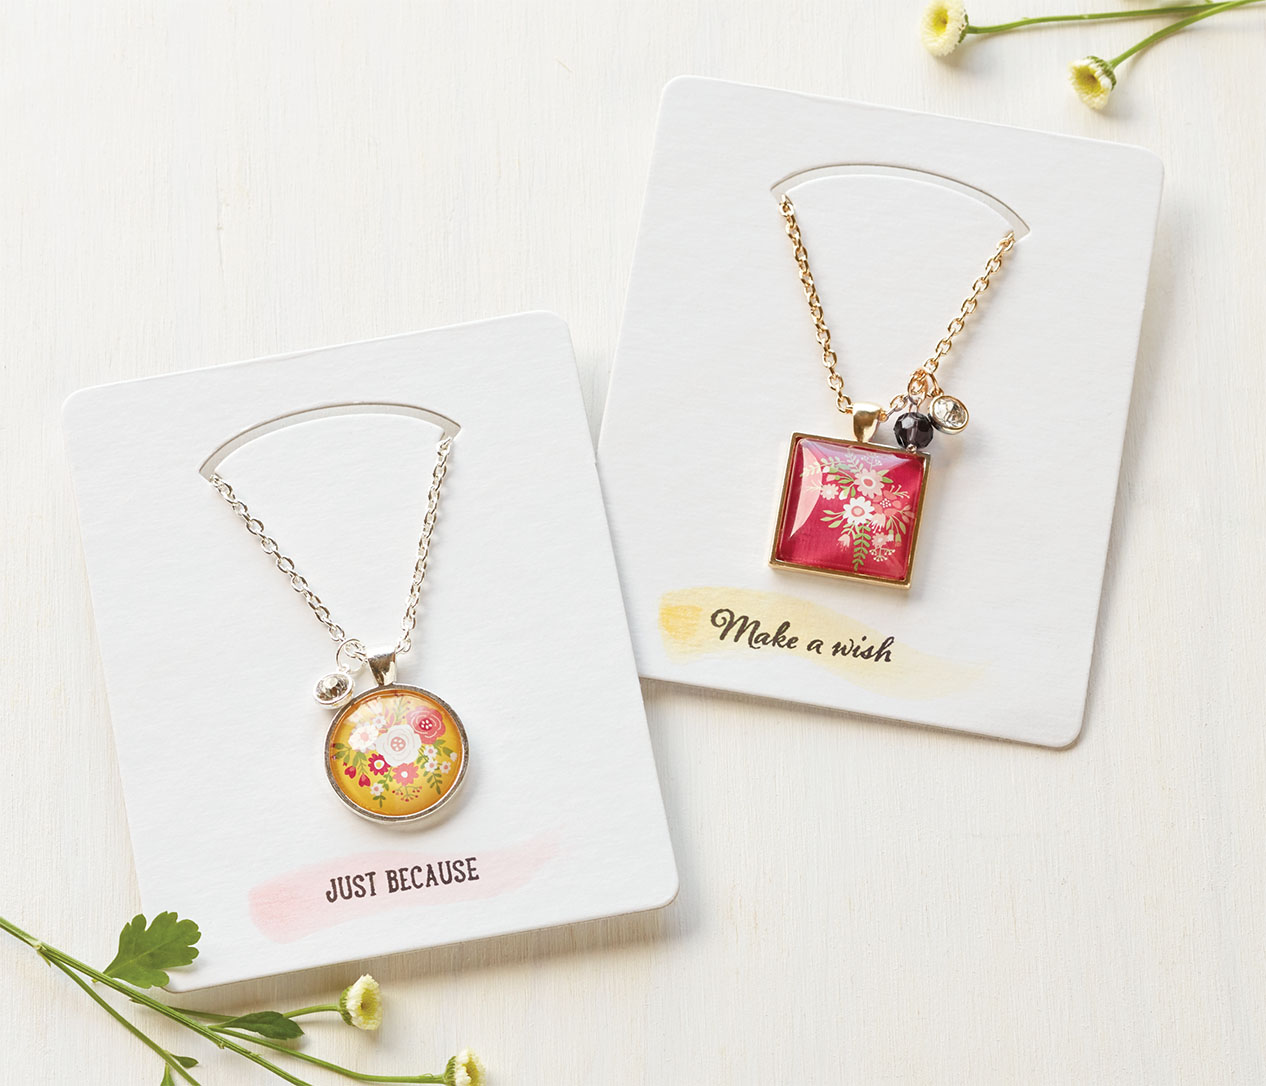
Base & Bling Necklace Cards. Do you love using Base & Bling to create personalized gifts? Wait ‘til you see these! Using the My Acrylix® Friendly Wishes stamp set, you can stamp a special message onto the necklace card, add a splash of watercolor, and attach the necklace. Slide it all into the sealable bag, and you’re ready to give someone a dazzling gift!
Check out our best products of 2015 and our favorites coming in 2016! #CloseToMyHeart #ctmh #NewYear #bestof20156. Picture My Life White Overlays. You’ve loved them in gold, you’ve loved them in black—and now you’re going to love them in white! Picture My Life overlays are clear cards with foil designs that you can slip over your photos or cards in your pocket scrapbooking for an extra bit of flair.
Doesn’t this list get you excited for 2016? With products like these, creating beautiful artwork to preserve your memories or discover your inner artist will be an exciting adventure! Tell us below which products you’re most excited about from Seasonal Expressions 1!
All these products are available through one of our Independent Consultants. To find a Consultant near you, visit closetomyheart.com and click on “Find a Consultant” in the top right corner of the page.
Leave a comment

New Year’s Eve Favors


2016 is right around the corner, which means it’s time to party–and we have the perfect party favors you can make for your guests! They’ll even complement the Kaleidoscope party décor we shared a couple of weeks ago. Pull out your Cricut® and Kaleidoscope paper packet for this one, and get ready to create these lil’ show-stoppers:https://blogctmh.files.wordpress.com/2015/12/unknown-13.jpeg
These will be the life of the party even before they’re opened! First, pick your favorite Kaleidoscope paper design. Bright colors and festive designs make Kaleidoscope an easy choice for this type of project.
Next, cut your Cricut® shape out of your chosen paper using the Artiste cartridge. The Artiste cartridge also comes with a handy instructional booklet that will show you how to fold it into its 3D shape!
Last, bling it up! Add some sparkle with glitter paper, shimmer trim, and sparkly embellishments!
As fun as these popper-like favors look on the outside, you can make them even MORE fun by putting surprises inside before sealing them shut. When your guests are ready, they can rip open an end to find a special treat—maybe a few pieces of candy, a “fortune” for the new year, or even a little toy! Just like that, you’ve got a fun, unique gift everyone will enjoy!
To finish off your popper, we’ve got an extra fun idea— confetti! Pull out your triangle border punch, and cut out pieces of Kaleidoscope paper, glitter paper, cardstock, or all of the above! The hole in each end of the popper is big enough that you can insert the confetti even after assembling the popper.
Pop on over to our Kaleidoscope party décor post to finish off your party plans, and enjoy creating these paper poppers! :)
Recipe
Poppers
B1484 My Acrylix® Jennifer’s Hand, X7202B Kaleidoscope Paper Packet, 1385 White Daisy Cardstock, Z1829 Black and Grey Glitter Paper, Z2105 Black Exclusive Inks™ Stamp Pad, Z1799 Silver Shimmer Trim, Z1986 Pink Shimmer Trim, Z1752 Sparkles Clear Assortment, Z1997 Triangle Border Punch, Z3170 Cricut® Artiste Collection, Z3167 Cricut® Artistry Collection, Hole Punch
Cricut® Shapes:
Artiste
8″ 3D object <BdayBoy> (p. 68)
Artistry
1¾” Layer <I> (p. 18)
All these products are available through one of our Independent Consultants. To find a Consultant near you, visit closetomyheart.com and click on “Find a Consultant” in the top right corner of the page
Friday, November 20, 2015

CTMH Christmas Crafts Blog Hop


Welcome to the Close to My Heart Christmas Crafts Blog Hop. This blog is affiliated with The Heartfelt Sentiment Group. If you are coming from Katy Taylor, then you are on the right track.

 Christmas is fast approaching and what special way to give out your gift than giving them in this cute card purse. I saw this cute project in Pinterest and tried it using CTMH White Pine paper packet. I includes the recipe to make this project.
CARD PURSE
CARD PURSE

RECIPE:

1 piece of solid color cardstock ( Colonial White) 5 3/4" x 11"
2 pieces of printed card stock (White Pines) 4 1/8" x 4 3/4"
2 pieces of solid color cardstock (Fern) 1/2" x 4 3/4"
Stamp set
Scallop punch ( fern), 2" circle punch.
Scoring tool
Scissors
2pc. of 11" of ribbon.
Double-side adhesive tape

Step 1
Score your 5 3/4" x 11" at 10 1/2", 6", 5 1/4" and 3/4"( Landscape).
Step 2-
Turn to portrait and score at 5".
Step 3-
Cut the bottom 4 score (vertical lines) stopping at the horizontal score lines.  Adhere the front , back and side panels using pattern paper and green card stock. Do not glue the box yet only the paper.
Step 5-
 Using a circle punch, cut a notch in the center of both the front and back of the box.
Step 6-
Place adhesive tape, fold and assemble the box.
Step 7-
Punch 2 hole on either side of the circle notch. attach ribbon. I glued buttons to decorate the box.


 RECIPE CARD FOLDER

This is another nice way to present recipe cards or hand made card.

Instructions

*Cut a 6 1/2" x 11 1/4" of solid cardstock.
*Score at 2 3/4", 3 1/4",7 1/2"& 8": crease folds. This will create the folder, with the largest section becoming the back of the folder.
*Cut a piece of coordinating ribbon 24" long. Find the center and put a 2" long piece of double-sided tape on the backside of the ribon; adhere horizontally to the back of the folder. Tie the recipe cards or hand made cards securely inside.
*Decorate. I used the strip from White Pine paper and added a decorative trim. Glue ribbon all around the folder and tie a bow. Embellish. Add Velcro where the top and bottom flaps meet.
Now hop on over to Melissa Robinson and see what she has for you!!

White Pine Paper packer # X7200B  $ 9.95 US


Thursday, November 12, 2015


Experience the “Fun” of Fundamentals!


 Product Image

 Purchase the album bundle and you get:

  • Album of your choice (D-ring or Post-bound)
  • Paper Fundamentals Enchantment (1 pack)
  • Fundamental Stickers Enchantment Pack (1 pack)
  • Fundamental Assortment Peacock (1 pack)
  • White Daisy Cardstock (3 sheets)
  • Memory Protectors™ Value Pack (1 pack Side Load or 1 pack Top Load)
Experience the beautiful Simply Fundamental Scrapbooking workshop—available only during November! This workshop has been created using all the items featured in our campaign exclusive My Legacy™ album bundles, available during November for $71.80 each! When you purchase the album bundle, you will also qualify to receive a value pack of side load or top load Memory Protectors™ FREE—a savings of $19.95! Along with the album style and design of your choice, each bundle includes one Paper Fundamentals Enchantment pack, one Fundamental stickers Enchantment pack, one Peacock Fundamental assortment, and three sheets of White Daisy cardstock. You will then be set to turn these beautiful products into fabulous layouts using the new Simply Fundamental Scrapbooking workshop featuring five layouts you can make using all the supplies in your bundle.
Choose your bundle.

Contact Me:  Busyaggie.ctmh.com  
*Offer valid November 1, 2015 (9:00 am MST)–November 30, 2015 (11:59 pm MST) while supplies last. No tax will be charged on the free items. Shipping/handling rates are based on the full retail price of any free items, including the sheets of White Daisy cardstock (three sheets: $1.19 USD / $1.41 CAD).


Thursday, November 5, 2015

CTMH Paper Blog Hop - White Pines

Thanks you  for coming to the "CTMH Paper Focus Blog Hop". This Blog hop is affiliated with Heartfelt Sentiment Group. This month we are using The "White Pines" paper packet. 
If you are coming from Kathy Taylor  then you are on the right track.
I have fallen in love with this beautiful  paper. The colors and prints are very festive.  I'm featuring this cute and simple card using the paper and the compliments that goes with this packet. I used Colonial White for the card and added pieces of the printed paper to the card. I stamped with black ink and used the "Twinkle" stamp set( S1510). I embellish with the White Pines Compliment stickers.(X7200C).

Finished size: 4 1/4" x 5 1/2"

I also included a 3-D gift box using the Fern cardstock(X5777). With this box has a pull out drawer where you can put candy, tea bags,and more. I got this idea from You Tube. It's very easy to make.
Here are the directions-
  1. Cut one 3" x 12" of Fern Cardstock. Score @ 1, 4, 5, 8 & 9. fold.

Side view when folded
add strong adhesive .


    Cut one 4 7/8" x 4 7/8" of Glacier cardstock(X5770). Score 1" on all four sides.Fold and cut slit as marked in red see below.


 Punch a 1" circle and glue to one side of the box and with a hole puncher make a hole. Tie a knot at one end of the ribbon and pull it through the hole as shown. Use tape to secure ribbon to the inside of the box.

 Now you can decorate your box. I used a 2 7/8" x 2 7/8" of printed paper and adhered it to the outside and I use the same dimensions on a plain cardstock so you can right a message. Have fun!!
Now hop on to Sheila Wilkerson's blog for more ideas. 

Materials used for both projects:


Sunday, October 11, 2015

Stamper with an attitude Blog Hop- Sangria


Welcome to Stampers with an Attitude blog hop. If you are coming from  Sheila Bennett  then you are on the right track.
This month our group wanted to introduce to you the " SANGRIA" Paper packet from Close to My Heart. This paper pack is featured in the Annual Inspiration catalog and it has beautiful solid and pattern cardstocks for you to choose from.

Finished size: 4 1/4" x 5 1/2"


This card was made with two parts.
You will need:
 a 4 1/4" x 11" scored @ 5 1/2" and fold( colonial White), set aside.
 Cut a 2 1/2" x 4 1/4" score @ 1/2" on the top (landscape) of Colonial white cardstock.


Use a corner rounder on the ( 2 1/2 x 4 1/4" ) piece of colonial white cardstock as shown and glue a 4" x 1 5/8" of pattern cardstock with rounded corners.

Fold the score line and add adhesive on the backside of the narrow flap and glue it to the backside of the 4 1/4" x 5 1/2" card as shown below.


Close card. Cut a 4" x 5 1/4" of complamentary pattern paper
and glue it to the front of the card.

Stamp flowers with diferent colors taken from the paper and glue them by adding 3-D tape to give it dimention. Set aside.

Cut a 18" thick twine (fern). wrap around the length of the card and tie a bow.

Glue the flower on top of the twine and top of the flap to hold the twine in place,


Stamp a sentiment inside as shown. I used the September stamp of the month " Paper Garden" now on sale for $5 if you purchase $50.00 in CTMH products.

Materials-

Sangris Paper packet
Stamp of the Month- Paper Garden" S1509
Colonial white cardstock-
Chocolate ink Z2111
Eggplant ink Z2647
Pixie ink- Z2644
Honey ink Z2162
Fern Thick twine-Z3093

Now hop on to Wendy Taylor  blog and
 have fun!!